On Thursday, November 10, G2 Computer Science students showcased their projects based on physical computing and databases to the SCIE community.
Below are some of the reflections and experiences of students.
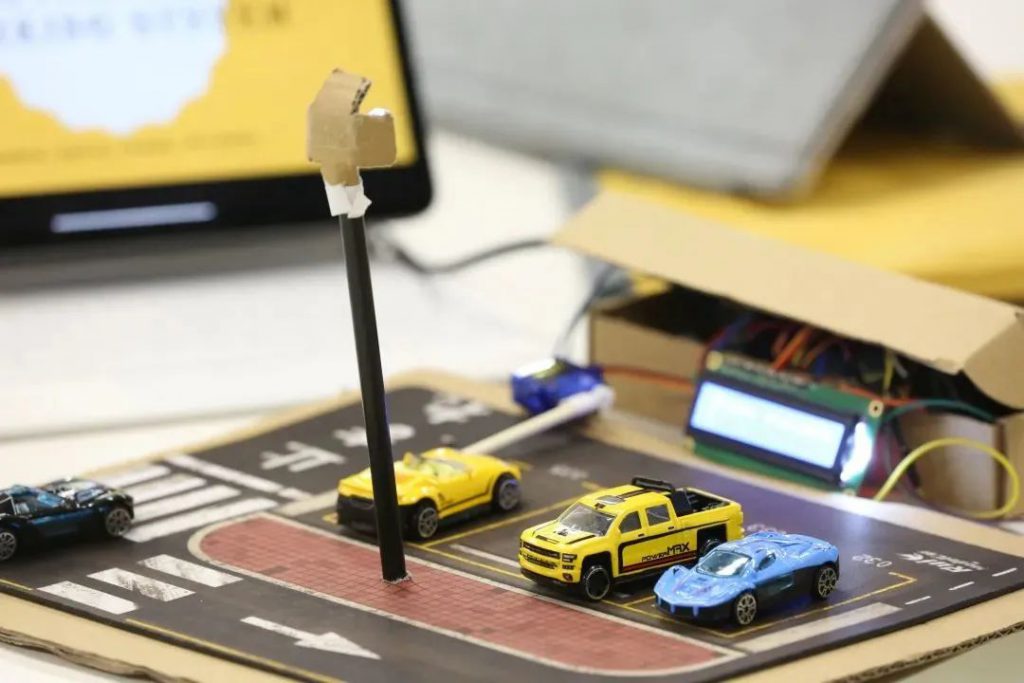
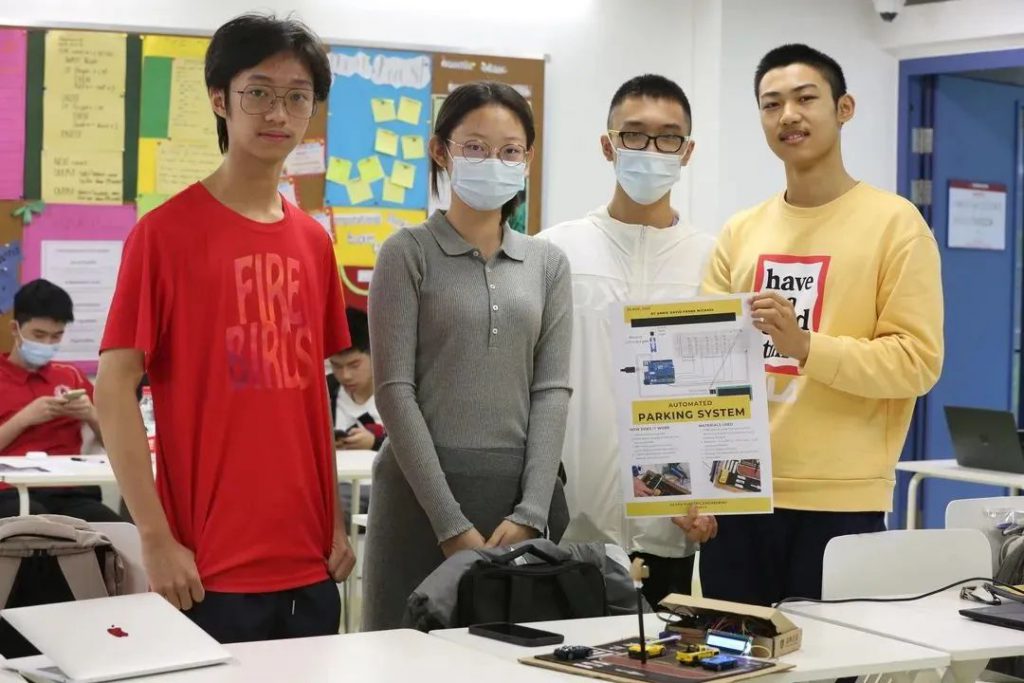
01 Automated Parking System
By Annie, David, Frank, Michael
The computer science project week provided us with the opportunity to take many first steps out of our comfort zone. In the beginning, none of us were experts in physical computing. Gradually, through 2 weeks of learning, we decided to compose an automated parking system, assembled under the inspiration of the street light system created by the Computer Science department.
Our system consists of two major parts:
sensors used to detect changes in light intensity to determine if a space is occupied or not, and a screen used to display the number of spaces available.
The process was not easy. Several attempts were made during the set-up of the screen, as the electrical contact between the screen and a microprocessor was extremely poor, requiring an extra soldering process to let the current flow across the connection. So, we soon developed adequate soldering techniques to overcome this problem.
Then, another problem arose during the construction of the gate. The servo motor we used cannot be controlled by pre-setting rotation angle, instead, it can only be controlled using a timer (advise do not buy the old version of Arduino servo motor, the new ones support pre-set angles). We had to test multiple times for the most ideal time range that turns exactly 90 degrees.
Fortunately, despite the technical difficulties, our system functions perfectly well.
Our system operates as below:
1.LDR at the entrance detects the arrival of cars.
2.If there are spaces available, display “Welcome” on the screen and open the gate.
3.Detect current status of parking spaces using another LDR.
4.Calculate and display the number of remaining parking spaces on the screen.
5.Stops cars from coming in after the parking spaces are full.
Throughout the process, we’ve explored sensations of enjoyment and achievement from our consistent effort and the final product. It is certainly a memory we will all cherish.
Our group member David created a tutorial for this project, which is now available on the official website of Arduino, please check it on:
https://create.arduino.cc/projecthub/askasa/build-your-own-parking-space-54ae05
02 Parking Anti- collision System
By Teddy, Denny, Steven and Robben
The third of November was the best day for me in this semester. Our CS project groups finally, finally succeeded in our project, although the success is a bit late… Well, I have learned a lot from it and wanted to share my valuable experiences and knowledge I gain.
Our project focus on the connection of wire, expansion board, Micro: bit and sensor. Its purpose is to send warning signals to the driver when parking. We use LED light and Buzzer to simulate the same function in real car.
At first, we all thought it would be an easy project. However, it turns out to be hard. We have our first connection in the first week of the project. Following the teaching video, we “successfully” connect the electric circuit. Sadly, and unexpectedly, the system can’t work. We don’t know what to do, since we follow the steps carefully and code carefully. That’s when we start to feel that the project is not that easy.
Things went well after that. The logarithm and the identification of the electric component went smoothly, not hard at all! But our real problem is How to make our circuit work??
We didn’t feel pressure at that time since the time is sufficient. After discussing the problem with other projects’ leaders, we found out that the connection between the positive and negative sides of the LED light and Buzzer is wrong. So, after reconstructing the wire by rules, it successfully works. The LED light shined, and the Buzzer made a noise. But the next problem comes immediately-How to make these components follow the code we made.
And that’s the hardest part of our project. We can’t do it! No matter how hard we try, the system just can’t work! We were desperate and started to think about what we can do to minimize the loss of mark if we can’t make the project work.
That night, I can’t sleep. I didn’t want to accept the truth that we can’t make the project work. So, I just came out of my bed and start to do research. Luckily, I have some valuable findings. I first searched out that the connection of the Sensor needs to be done in a formular way. I found out that we wrongly constructed the sensor. One of the pins should be connect on the power supply. So, I reconstructed the electric wires again.
Quickly, I face another question: Why the desk always pushes out itself after the code have been send? I search out that it is the way the Micro: bit works. It will operate the code one time and then save the code inside the Micro: bit. So, I just tried that again. It is late at night, but the eager to complete the project make me exciting. I thought I have succeeded! At least at that time.
The reality beat me again in the next morning, the components don’t work. We feel powerless, but still don’t want to forgive it easily.
As the saying goes, the success always came after failure. On the afternoon of the third of November, at the dormitory of Wood Houses, we did our final testing. We first tested the wire that connect with LED and Buzzer to make sure that the signal of 0 and 1 can both be send successfully. Then we tested our sensor and result in successful detection.
In the end, we combine this two-successful small systems to one complete system. When my hand nearly touches the sensor, the Buzzer roared, and the LED light shined. When I move my hand away, everything remains silence. We made it! We shouted out loudly in the room. So excited that we want to make sure that it is the reality…
From the project, I really learned a lot. From the working rules of the Micro: bit and Sensor, to the skill of identifying the problems, debugging step by step. But the most important thing I learn is that: Never give up! It is hard for everyone, so just do it, try it, experiencing again and again, and it will lead you to success.
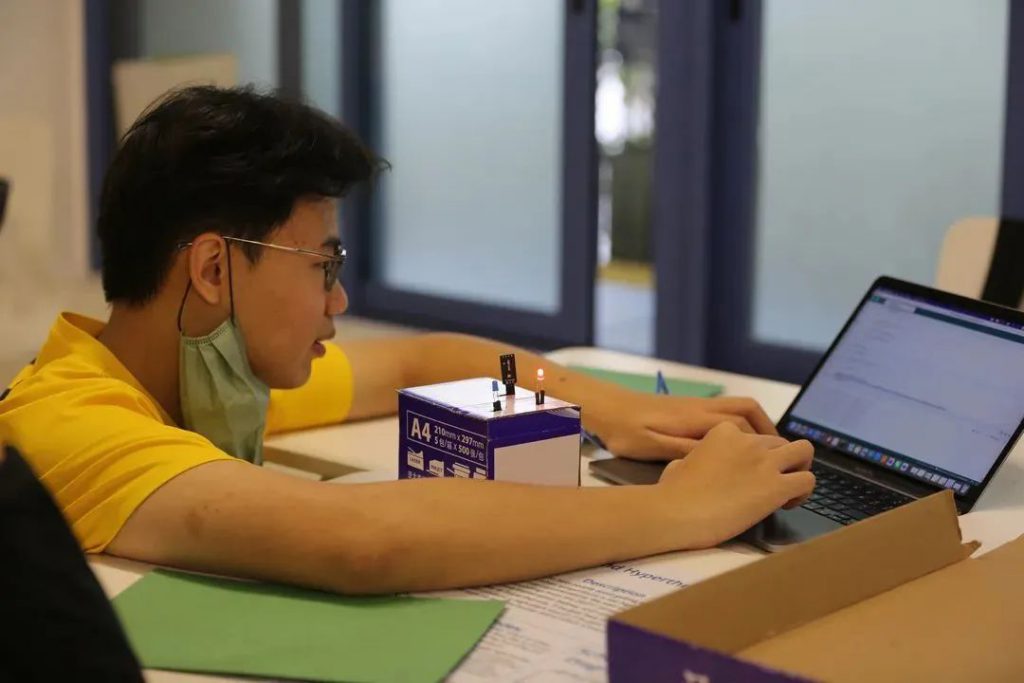
03 Heat Stroke and Hypothermia Detection
By Alexander, Eugene and Benjamin
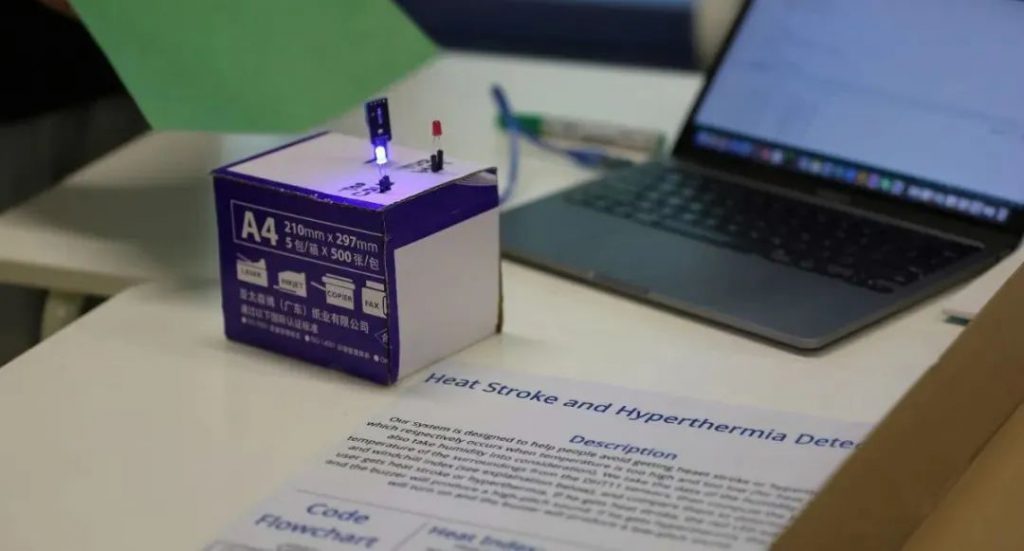
The inspiration for our project was news about some athletes dying from hypothermia, so the alarm should be switched on when we detect that the user is at risk of hypothermia, and of course, the heat stroke detection function is also added.
The inputs of the device are only temperature and humidity, which can be used to calculate the Heat Index and Wind Chill Index (in fact, the WCI also needs wind speed, and we consider the local average wind speed as its value for concerns on portability and difficulty in making it); For the outputs, there’re a red, a blue LED light and a buzzer: if the user may have heat stroke (the HI is too high), the buzzer will produce a high-pitch alarm and the red LED will be turned on; If the user is at risk of hypothermia (WCI is too low), the blue light will be switched on and the buzzer will produce a low-pitch alarm.
Although this project seems simple, we encountered a lot of problems:
First of all, there are no ready-made demonstrations or code on the Internet, which means that the entire project, including the planning, circuit design, programming, etc. must all start from 0. Our group had some disagreements in the part of deciding what to have: some features, such as wind speed detection, could make the device better, but the function was more difficult to realize, and some team members thought it should be added while some felt that it was too complicated and unnecessary, so we needed to make trade-offs.
Secondly, circuit design: because the simulation software does not have all the components we need, we must design the circuit without the assistance of the simulation system and understand how to connect circuits between different components, which is a big challenge for us who did not know the breadboard.
Moreover, in programming there is no code already developed by others on the Internet, hence we must find the codes for each electrical component for them to work. For example, for the DHT sensor, we spent a lot of time on it, including collecting source code from the Internet and making it work normally in our project.
Although we had many difficulties, we overcame them, and I believe that this greatly improved our problem-solving ability, and everyone also improved themselves with their capability in circuit design, programming, error correction, etc.
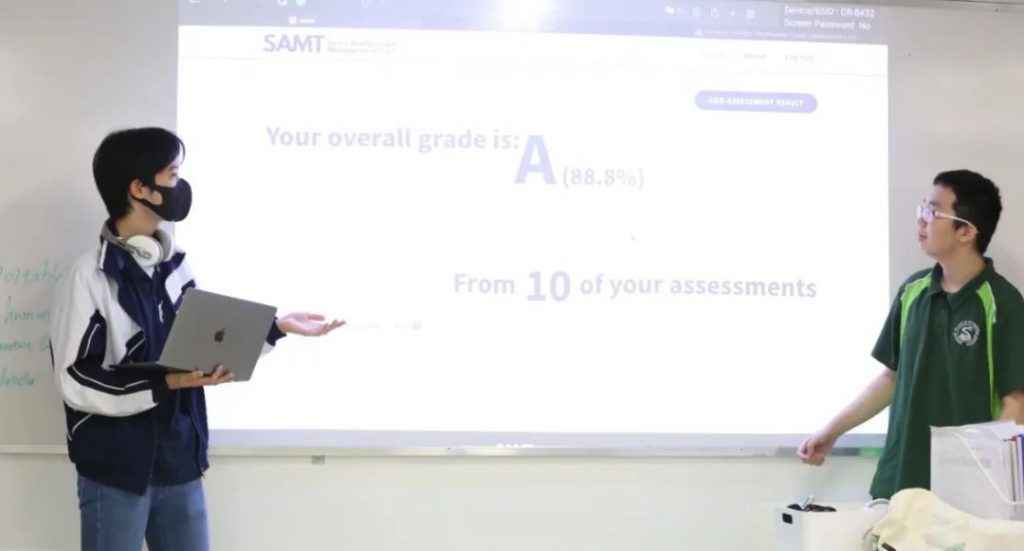
04 Database
The past few weeks were quite a thrill for us, Computer science students in G2. On Thursday, the 10th of November, we embraced the final exhibition of our CS project that marked an acknowledgement of our effort as well as the official ring down of the entire project.
The group project kind of arrived as a surprise with joy for me; perhaps because I never take a look at the course outline, I wasn’t anticipating that there would be an actual chance for us to jump out of the seemingly endless cycle of learning theory in our CS course. Thus, with excitement looking forward to what we could possibly have done, Toby Li, a dear friend of mine, and I quickly formed our group.
We were given two options: database and physical computing. As a part of the Z-Generation who have been wrapped by the internet world ever since our birth, we share the same curiosity towards the principles and the building behind websites. Therefore, although we had virtually no experience in this area, we opted to dive into this mysterious magic world by taking the precious opportunity to build our own website and database. From here, the journey began.
The final product of our project landed on a tool by which users can log into their individual accounts, store assessment results into the database and then receive a brief overview of their performance. We originally designed more for our product, such as the function of searching test results in a specific course; However, we had to give up due to the limited time we had.
To make such a process into action, we adopted HTML (Hyper Text Markup Language) to build webpages (also known as the front end), then constructed the PHP back end which was in charge of processing requests from the front end and sending SQL (Server Query Language) queries to the database to either store or search for data.
In spite of how simple the product may appear, it entailed a series of challenges for us two; for example, we had quite a struggle with building webpages with HTML. Initially, we tried to make our own code. Nevertheless, the outcome wasn’t great: the aesthetics of our webpages was barely satisfactory, not to say desirable. Ergo, in order to get what we desired, we found an alternative remedy, which was a graphic page editor that generates HTML code from our design. Apart from this one, there were a bunch of difficulties we faced, especially when debugging. I can assure you that spending three hours on solving a syntax error reported when incorporating a SQL query into PHP was indeed not a pleasant experience. Nonetheless, we’ve made it.
Despite that the product of ours has plenty of room for improvement, yet I reckon that the product is our ‘tour de force’ of 90 per cent success, since what really matters the most is not how perfect the final product is, but the endeavour we’ve made and the knowledge we’ve gained from the project, especially when taking into account of how little relevant knowledge we had prior to the project.
From my own perspective, the project itself means a lot; it allowed me to take a morsel of the taste of web development which offered me a clearer vision of what my life could be if I pursue CS related career in the future.
If we metaphorically say that studying CS is a full course meal and the daily acquisition of theoretical knowledge is the main dish, then the distinctive role of the project in our studying would be the palate cleanser that, by enabling us to apply theories into practice, helps us digest the knowledge we’ve acquired while refreshing our appetite for the next main dish.
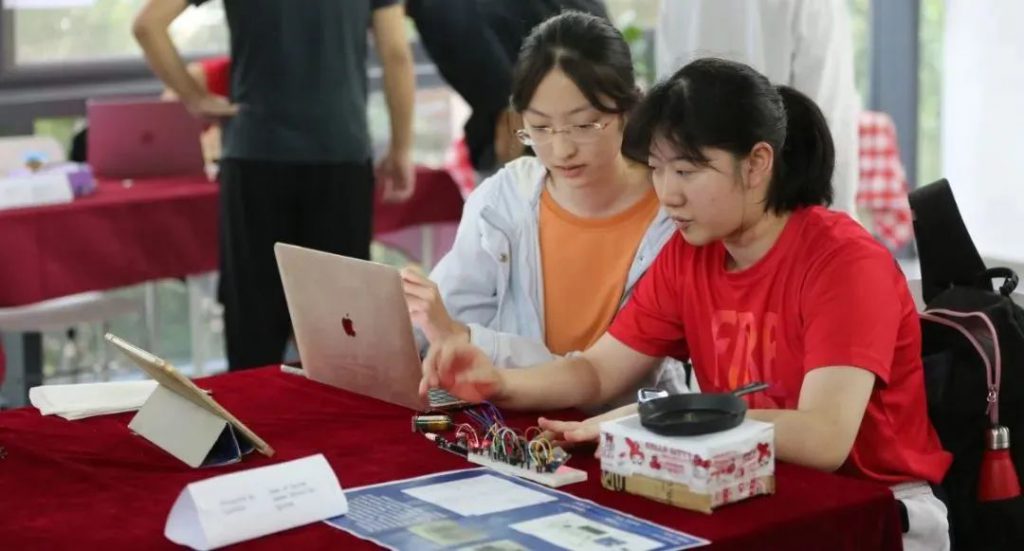
05 Home Smoke Detection System
By Jean,Sheryl,Cynthia,Sarah
Introduction to our smoke detector:
Smoke detector is a crucial device in households and public areas. The smoke detector we made is able to detect and report the presence of smoke. In normal condition the light will remain green. When a smoke is detected, it will display the word “Smoke!” on the screen, ring a buzzer and flash the red light.
Our detector has various applications. Its most common use is to report the occurrence of a fire in the household fire alarm systems. It may also be installed in places where smoking is forbidden (e.g., airplanes) to detect any smokers that disobeys the regulation.
What have we done?
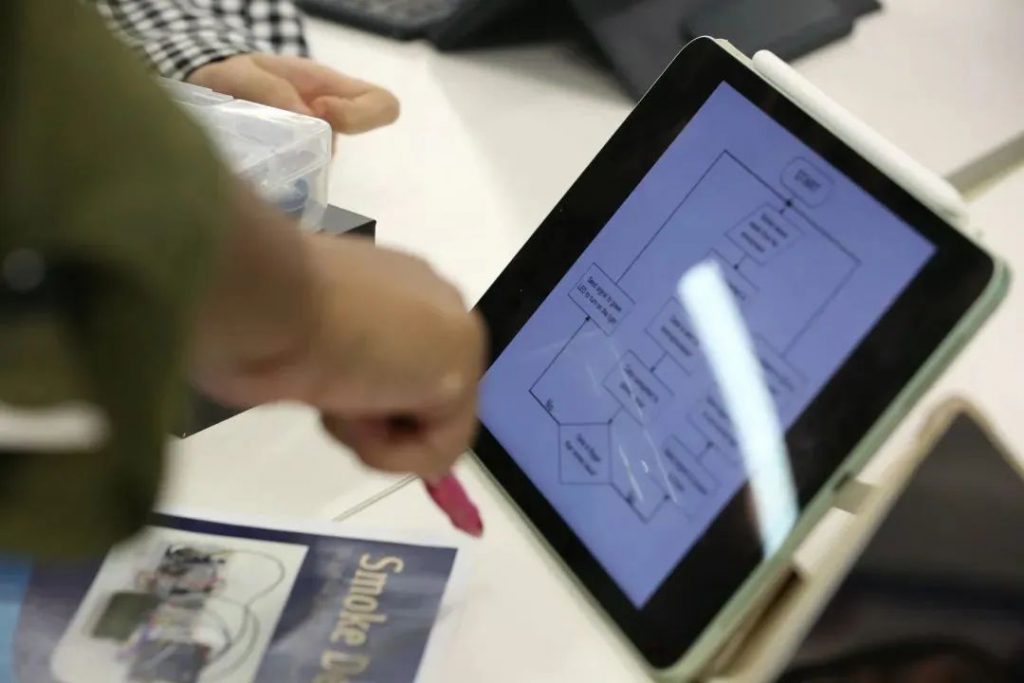
1.Draw a flowchart
We draw a flowchart of the whole working process after we have come up with the idea of making a smoke detector, which describes in stages about how the smoke detector works.
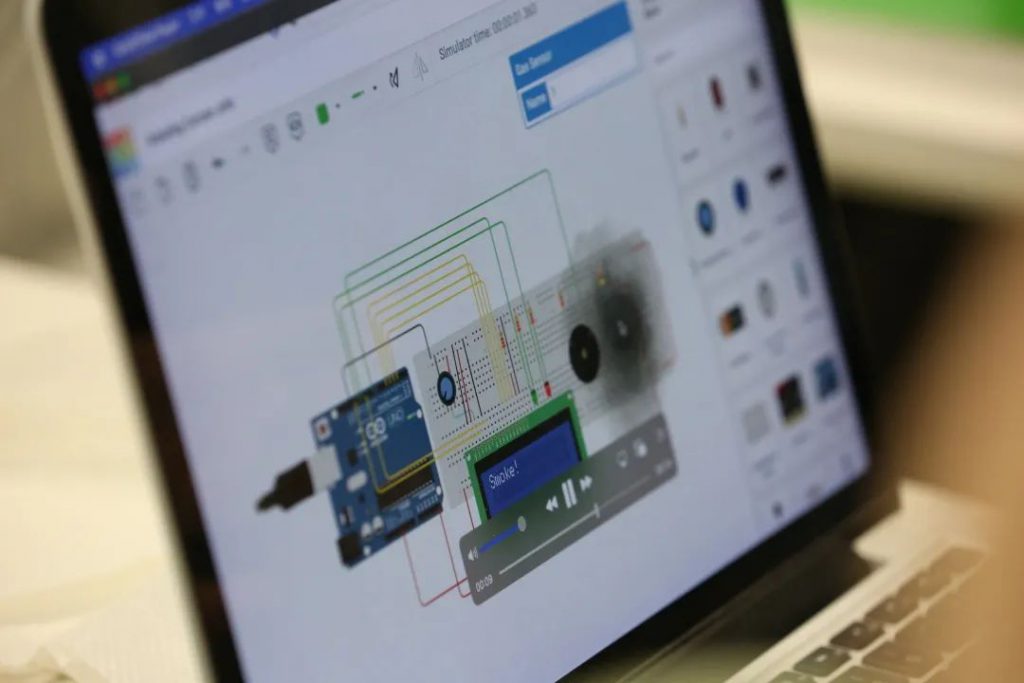
2. Simulation
We build and record an online version of the whole automatic system of smoke detector by using the website Tinkercad. We find the components online and combine them together, and we assign the conditions and functions of the system by typing the codes in C++ programming language.
3. Build the circuit
We get the physical components from the CS teachers and assemble them together on the breadboard according to the simulation sample we have online.
4.Test the system
We test the system by lighting up the paper and then left it to test whether the red light flashes and the buzzer buzzes with smoke present and the green light flashes with no smoke.
5.The final result
We get our system of smoke detector to work and record the whole process.
Problems we met:
1.LED light and buzzer:
During the process of simulation, we met a problem that before the smoke gets closer to the smoke sensor, the red LED and the buzzer start working. We first thought that it might be the threshold value is too small so that even a very low concentration of smoke would reach the limit and let the microprocessor send signals to the actuators. We tried to increase the threshold value, up to 20000. But it still doesn’t work, and we finally find out that it is because the circuit is opened.
2. micro-bit:
We originally wanted to add a micro-bit component to show the words instead of a LCD screen. However, the micro-bit component only support python and scratch code. And the LDE we used to upload the code into the UNO R3 supports the C++ code only.
To solve this problem, we decided to change the micro-bit component into an LCD screen as it can use C++ to code.
3. LCD screen:
When we add the component of the LCD screen to the breadboard, we find out that it doesn’t have pins that allow it to connect with the breadboard. And to solve that, we need to solder the pins into the LCD screen. After borrowing the soldering iron and tin solder from the CS office, we successfully soldered the pins and connected the LCD screen to the breadboard.
What have we learnt?
1.In the simulation stage, if the circuit doesn’t work normally, change to the schematic view to see if the circuit is open or shorted. Schematic diagram is easier for user to debug.
2.Learn a few C++ when doing the coding section.
3.List the problems met and solve them one by one. For instance, if the physical circuit cannot work, we should first make sure whether the pins in the circuit are connected well to the breadboard and UNO R3, then check whether the electric components are broken, whether our logic (code) has problems. Once a problem is solved certainly, we won’t look back to waste time on the same thing again.
4.Always remember to be patient!
06 Face Recognition Camera System
By William, Barry, Hardy, Harry
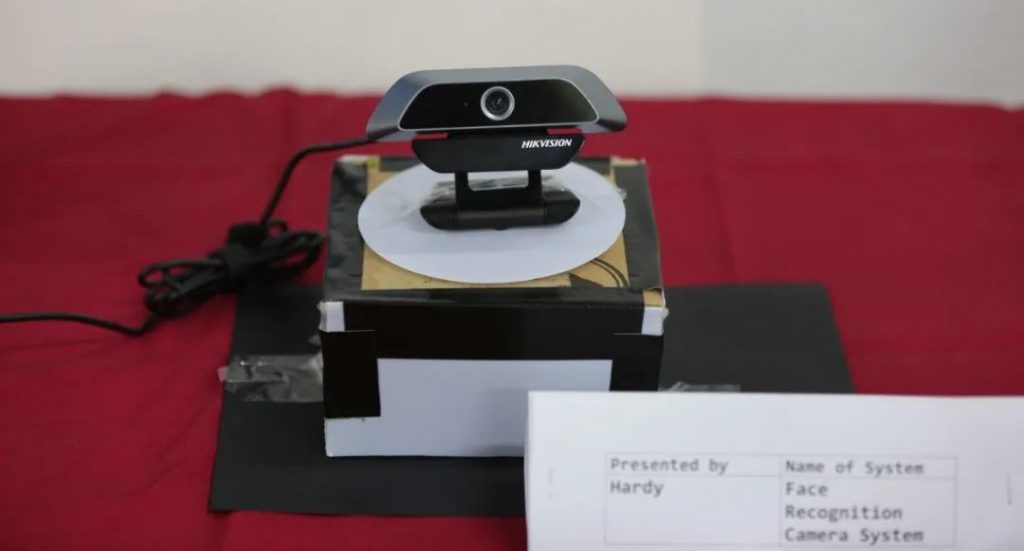
In this project, our group has made a camera with functions of face detection, face recognition, and face tracking, including hardware and software development and research, as well as the group discussion before planning. The purpose of making this camera was simple.
At first, we were interested in the face-tracking camera when we searched extensively. After discussion, we unanimously decided to take this product as our project target and add additional functions to it. The basic principle of this camera is to have the computer continuously process the images sent back by the camera. In the beginning, we wrote a program and carried out a series of machine learning.
Through the input of face data, the computer learned how to recognize faces. We also input the name of the corresponding person when entering data, so that the camera will display the name on the computer screen when it sees the person. When the face is moving, the computer recognizes that the face is not in the center of the field of vision, and the motor under the camera will start to let the camera rotate, in order to keep the face always in the center of the camera’s field of vision.
We think this camera has a wide range of applications in the real world. For example, when it is used as an indoor surveillance camera, the camera can continuously track the movement of people within the range and feedback on the corresponding images, and can also identify whether the person has entered data. If not, the corresponding security program can be started. For another example, during online classes, the camera can automatically adjust the angle. When users make some small movements, they do not need to adjust the camera angle by themselves.
The production process of the subject was extremely difficult. When our team just planned to start making this face-tracking camera, the atmosphere was relaxed. A small group of four people used the time in class for production and had fun in our spare time.
However, until the days of submission, the atmosphere of the WeChat group seemed to solidify, and everyone’s words were full of anxiety. In the process of debugging, various problems came one after another. All the vulnerabilities in hardware, code, and other aspects were exposed to us in the last few days.
Everyone was at a loss. The day before the project was submitted, we found an empty classroom to assemble a platform for carrying cameras as soon as we finished our lunch. After school, four members of our team gathered in the empty classroom. On that day, we saw people coming and going with noises at 4:30 on the campus and silence at 9:30 at the academic building. In these five hours, the only rest time we have is a half hour of dinner. The process of eating is also depressing. Everyone is thinking about how to solve the current problems and we seldom talk. Fortunately, the debugging was successful at 9 o’clock. After a series of tests, we were relieved and immediately cleaned up and went back to have a rest.
A few days before the exhibition, we encountered another problem. The motor was damaged and the algorithm caused a series of mistaken movement. We had to spend time rewriting a program to adjust the camera and buy new materials to replace it. Luckily, there was no problem on the day of the final exhibition.
In conclusion, this project was a great chance for us to develop numerous skills, such as collaboration and communication in teamwork, and the use of critical thinking. Overall, we think this had been an opportunity for us to make significant progress in our life and go further in the future.
- Article|G2 CS Students
- Photos|Kelly Carmen
- Video|Claire